Wifey had organised a chicken hatching thing, for the kids to get first hand experience learning about eggs hatching and chicks growing. It sounded interesting and fun, and it was. There are people around who do all the hard work for you - provide an incubator, a nice clear box with a heat lamp for them to run around in, food, instructions, and of course eggs close to hatching! It's pricey, but a great experience.
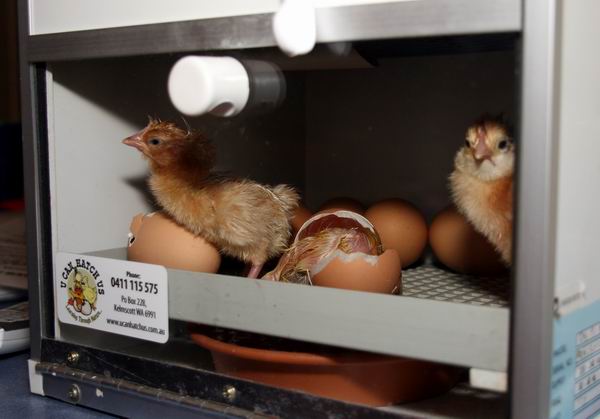
How to get hooked - cute little chickies just hatched/hatching.
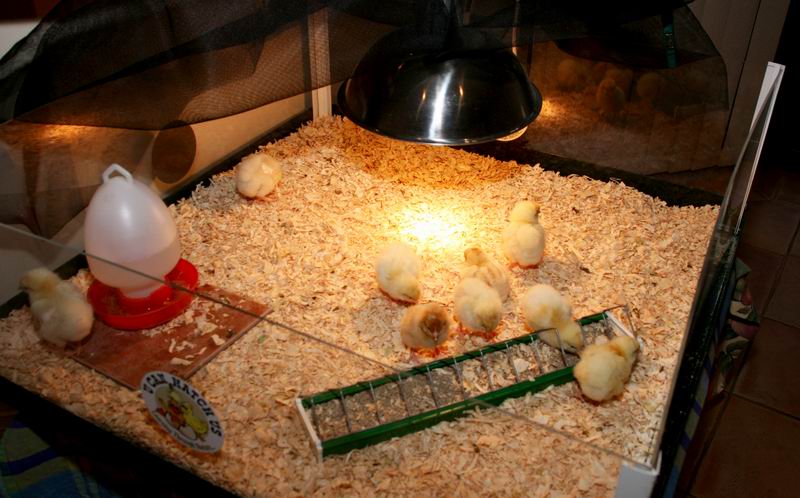
Running around in the brood box.
After watching with fascination we came close to reaching the end of the two week "loan" where they come and take everything back, including the chicks. The kids had named all the chicks of course and were sad at the idea of giving them back. My wife had mentioned if we wanted to we could keep as many as we liked - hens of course, for egg laying. This particular breed of chicken was a layer, and interestingly has had a genetic marker bred into it so you can tell the sex of a chick from the moment of birth by its colour. So we knew which ones were hens.
"Why don't we keep a couple of hens Darl", I said, "I'd like to try out keeping chooks." The kids were very keen of course. "But where will we keep them?" she replied. "Ah, I'm glad you asked" :)

My finished chicken tractor, complete with decorative sign (wood offcut) by the kids.
A chicken tractor is an interesting concept I found on the net, there are plenty of pictures and
discussions about them, nothing definitive though, so my chicken tractor was based on what I could
glean from the 'net. Basically it is a bottomless mobile chicken coop, the idea is that chickens mow
a section of lawn, poop out some fertiliser, you move it to the next spot, repeat. Give them a
section in the tractor to roost and lay eggs, and a section in the open for grazing.
So, let's talk about what I did, and what I learnt!
Having no experience with birds whatsoever meant I had a lot of questions - how much room do they need? How do they like to sleep? How big do they get?

Construction helpers.
The information for a chook tractor was sketchy and varied, the general consensus seemed to be a 1/2 - 1 square metre per chook (I planned to let them out during the day for a run around), 30cm per chook of roost bar space (in the "house" part), 90x45 pine for roost bars off the ground slightly and one nesting box 30cmx30cm per 4 chooks. These are minimums mind you, but I'd read of several people in forums making tractors so big they couldn't even move them! I didn't want it to be so small that it was cruel, but not so big it took up my entire rather small backyard!
Another problem was what to do with 2 week old chicks until they were 6 weeks old and with enough feathers to live outside. That was actually quite easy - a big cardboard box with some wood shavings (I made my own out of scrap wood and an electric planer) and a desklamp with a 75W bulb in it. No problems.
My initial plan and design was for keeping 2 chooks. Suddenly I discovered we'd kept 4 chooks. The tractor size was still within guidelines, just, looking back now I should have made it slightly bigger...well in fact, we gave two chooks away and it is plenty big enough for the remaining two! :)
Chook "house" section.
Alright - construction materials. I decided I wanted to make this project out of steel - it would be lighter, and I felt like doing some welding. I went to my local steel suppliers and asked what they had on special. Rather conveniently they has 20mmx20mm square section, galvanised, been in the rain for a bit too long you can have 6m lengths for (AUD2011)$10. Excellent, only needed 5 lengths. I also grabbed a bit of "mini-orb" colourbond corrogated, very expensive stuff, a cashy for a 1.8m length was (AUD2011)$40! In hindsight I shouldn't have bothered, the pine lining boards are totally ample for the job, and painted look fine.
A look at a hinge.
The design is A-frame, 2.1m long, 900mm wide at the base and 900mm on the side - because that is the width of the mini-orb sheet. My concept with the mini-orb was it will reflect the sun, and look nice enough to be kept in a backyard. The "house" zone is 900mm wide, and is lined with tounge'n'groove pine lining boards. This in fact meant that the mini-orb is double lined - great for keeping the weather out! In hindsight it is unecessary and complicated matters, painted lining boards would have been fine for the house section and would have kept the cost and weight down.
The layout inside the house was modified a few times, based on how I saw the chooks using it. I wanted to give them plenty of roosting room, but they do like to snuggle up. I also wanted a zone where I could put the 300x400mm nesting box where they wouldn't poop in it while roosting! Chooks, as you will discover, aren't all that bright with their pooping, and usually one would sit on the side of the nesting box, bottom in, pooping all night in the nest. (Apparently chooks like to roost as high as possible, and if there are higher areas than others, the "top dog" chook will get that, which can make things a bit nasty. I had hoped that the nest box being lower and narrower would keep them off it.)

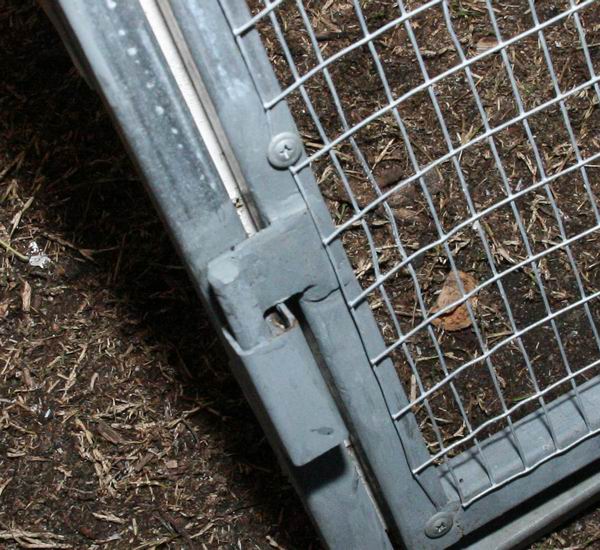
Door catch.
The welding of the frame was pretty straight forward. First I made the rectangle on the ground, then the two end A frames and a bar across the top. Leave the top bar hanging out *both* ends, as handles. I only left it hanging out one end, silly, it would be good when moving it around to be able to lift it from both ends.
Another A frame in the middle gives strength and give something to join to for the house opening. One extra bar to make a door into the grazing section. Two doors - simply rectangles, with DIY hinges, as shown in the photo. Just weld a bit of tube to the frame, and a bit of rod welded to a bit of bar welded to the door frame, top and bottom. How easy is that!
If you are clever, you'll make one bit of the hinge rod pin longer than the other, so when you take the doors on and off it will be easy to line up first one hinge pin then the other to put the door back on. Keep the doors removable - gravity will hold them in place :)
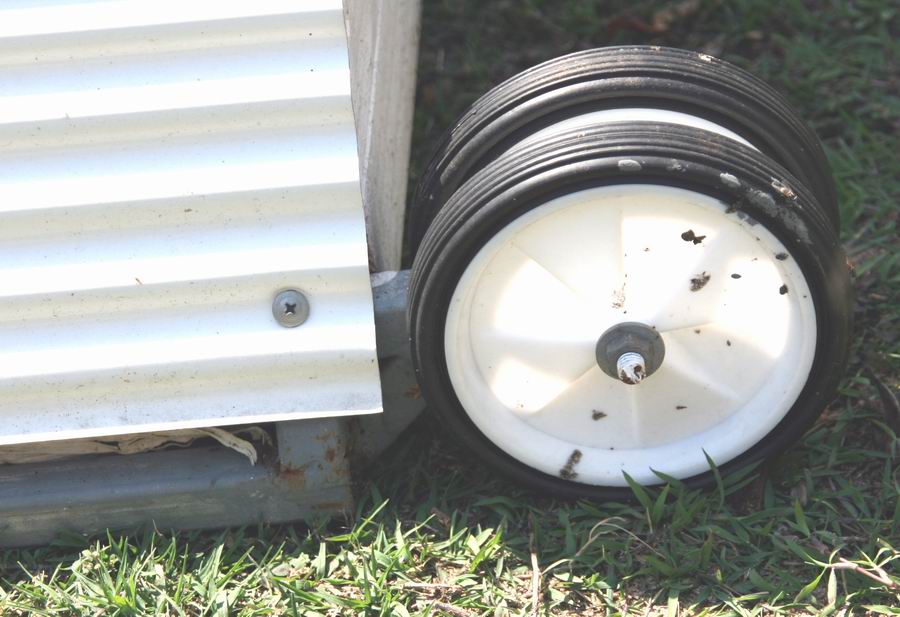
Wheels out the back for mobility.
Be clever about the door handles too - using the same bit of rod, drill a hole thorugh the door frame, weld a bit of flat plate on the back as the catch, and bend the other side for the handle. Or weld the handle if you don't have a vise set up (like I did). I also welded a washer to the handle shaft and put in a bit of rubber hose to "clamp it up". I reckon the picture is all you need...
Paint all your welds with something like cold-galv, which is a clear paint with zinc dust in it. That worked for me because all my steel was galvanised, so it matched the finish. If you kept cost down by using mild steel, paint the whole frame when you are done to stop it from rusting up too quick.
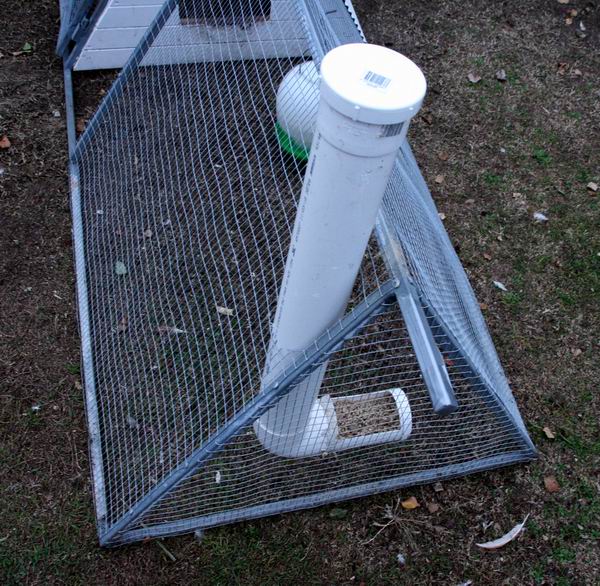
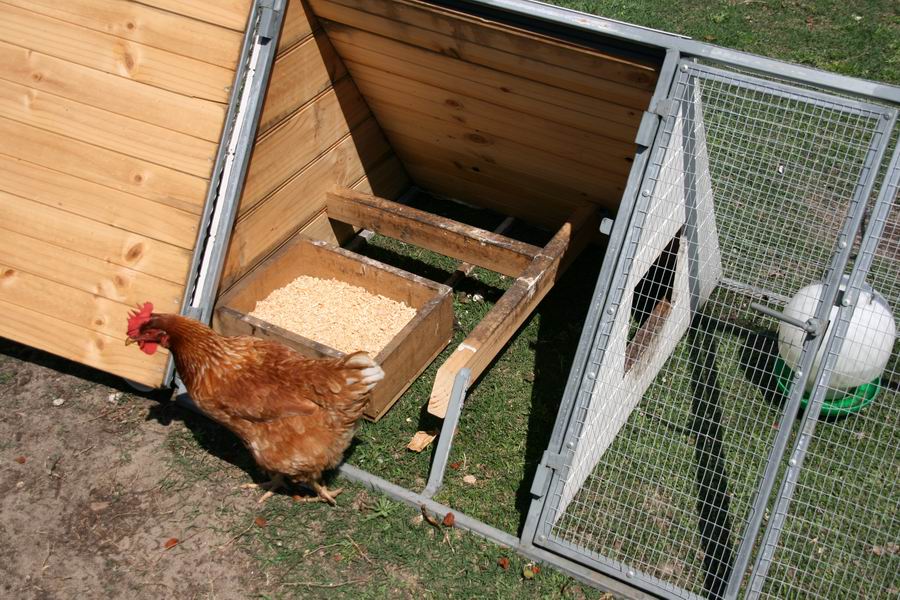
Home made feeder in grazing section.
Chook wire is a bit ugly; I went for an avairy style galvanised mesh. More expensive, but better looking. You don't need the strength. Use some metal self drilling screws to hold it in place. Add them in order so you are stretching the mesh tight as you go, don't stretch too tight because you will pull through the sections. If it isn't amazingly taught, I wouldn't worry too much. My kids constantly lean on it so mine is not taught at all anymore - but at least they don't fall through it!
Initially I bought a feeder. Hopeless! Chooks like to scratch around in their food, they would send it everywhere! I copied some ideas from the 'net, this feeder is about $15 worth of storm water drain fittings. Unscrew the top, pour in feed, screw top back on! You will need to put a restrictor after the elbow, otherwise it will come out too easily. Experiment - if the restrictor chokes the flow too much the chooks will clean out the bottom; they aren't smart enough to tap the side to get more coming through. To much flow and you will lose feed all over the ground.
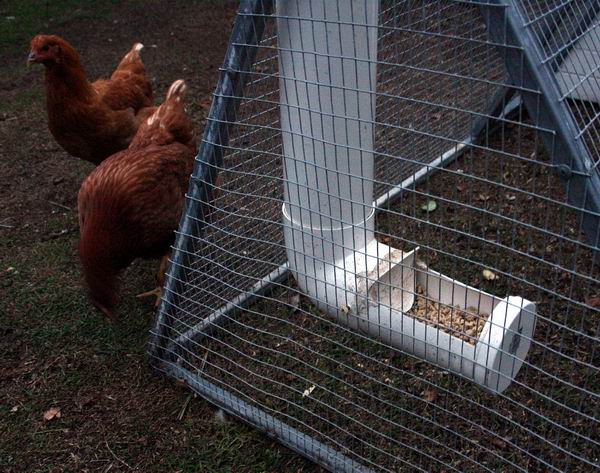
Closer look at feed tray section and a coupla curious chooks getting in the photo!
Drill some holes in the bottom of the feed tray for drainage. Yes, it gets wet in the rain. Funny though, chooks like their feed wet :) If it is very heavy with rain the water can cause the feed to swell and get sticky and block at the restrictor. I don't have too many problems, I think I've had to unblock it three or four times over winter. With that in mind don't permanently attach the feeder to the cage - I simply put one big headed screw in the side which rests on the mesh. No worries! The advantage of that is also you can adjust the height of the feeder tray. If it it too low the chooks will start scratching in it and send feed flying. Get it high enough so they can eat from it comfortably without making a mess.
Well, that was an epic tale, I hope you got some good ideas. It's not rocket science, but I reckon I learnt a bit after watching how the chooks behave which caused me to rethink how I did some stuff. Chooks do in fact make great pets - that supply deliciously fresh eggs - but be warned; they poop a lot, and everywhere, and have no issue whatsoever with pulling all the leaves of your low laying plants and digging holes in the garden! :)
JAW


 database