Nothing too hard to be done if you consider hand sanding for about 10 hours easy...
I was already going to refelt the table so messing up the old one was not a problem. The top of the table consists of pretty curves so power tool sanding cannot be used, hence the need for elbow grease and sandpaper. Use about 400 grit until only original wood remains.

Stage 1 - table sanded back to bare wood
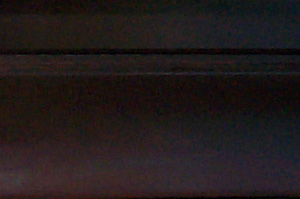
Wood painted. You can see texture (just!) but you can't see the grain.
This table is a 7x3.5' made from sheoak, an Australian medium hardwood. The original laquer/paint really was just that, a paint, hiding the natural look of the wood. Once sanded back I discovered the wood pieces were varying colours from quite light to quite dark.
"What's the point of using wood if you are just going to paint it?" I thought. That's where the
staining began. I used the Australian made "Wattyl Forestwood Natural Colour Oil Stain" in the "Deep
Jarrah" tone.
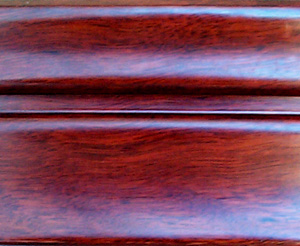
Wood stained and laquered. Much different effect, see also how the gloss catches the light.
It is brilliant stuff, I highly recommend it. Rub it in with a rag. In order to ensure all the wood ended up the same colour several applications were made to the very light tones and just one to the darker tones. Your eye knows best, if it looks right then it is right.
Next I applied a laquer on top. This is essential as the stain is just a stain. I simply brushed on two coats of a clear timber laquer, waited a day, rubbed it back, brushed on some more coats, waited a day, rubbed it back, etc etc.
What I wanted to achieve was a mirror gloss coat. On the top where it is flat I blocked some 1200 grit and did manage to achieve a mirror surface. However I was later told by a pool table manufacturer that they never try for 100% finish; even their best quality tables are only 75% finish off the spray gun. I agree with that - don't try for 100%:
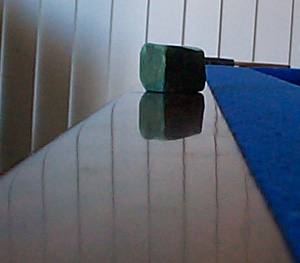
The top is flat so could be blocked. I wanted mirror flat and as you can see I got pretty close...
- It takes bloody ages and many many coats and rubbing back to achieve;
- In a good light you can see the finely feathered layers of each application of laquer rubbed through;
- Even the tiniest ripple in the surface is very obvious.
So you want to know about the felt don't you? Well no, I didn't do that myself. I paid a pool table guy AUD$300(1999) and he did it for me.
Pool table felt is very expensive (all made in the UK I believe at around $AUD250(1999) for a length big enough for a 7x3.5 table), it is very durable and has a grain. The grain must run from the head of the table to the bottom of the table which is also the way to clean the dust and fluff off it. This way you get greater ball speed when you break ;)
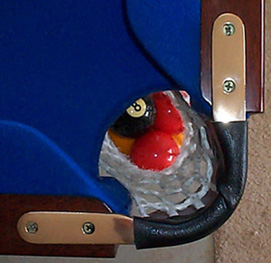
Shiny brass pocket holders sure beat plastic. Keep 'em shiny with a metal polish, the original stuff.
The bloke who did mine was a guru and whipped the new stuff on in about an hour. Felt glue is used to hold it down and the cushions are repaired if necessary at the same time.
So essentially all you need to do is get that magnificent wood grain showing, leave the felt up to the experts. Top it all off with some new pocket brass fittings AUD$70(1999) some red and yellow 2" asimyth balls AUD$90(1999) and some new cue tips. Sand the cues down as well, don't laquer them, they have a natural smoothness when barewood, just a light touch with 400 grit every now and then to keep them nice.
This pool table is now being looked after by my little brother in law. Funny how pool tables tend to move around the family. Whoever needs the space (eg, for additional kids) "temporarily" loans it to whoever has the biggest room for it. Best part is beating the current owner on "home ground" ;)
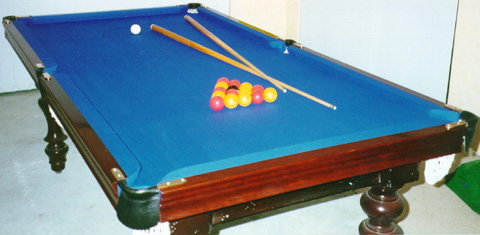
Complete. Well sort off, see those legs and that bass frame still only painted? (shudder) ;)


 database