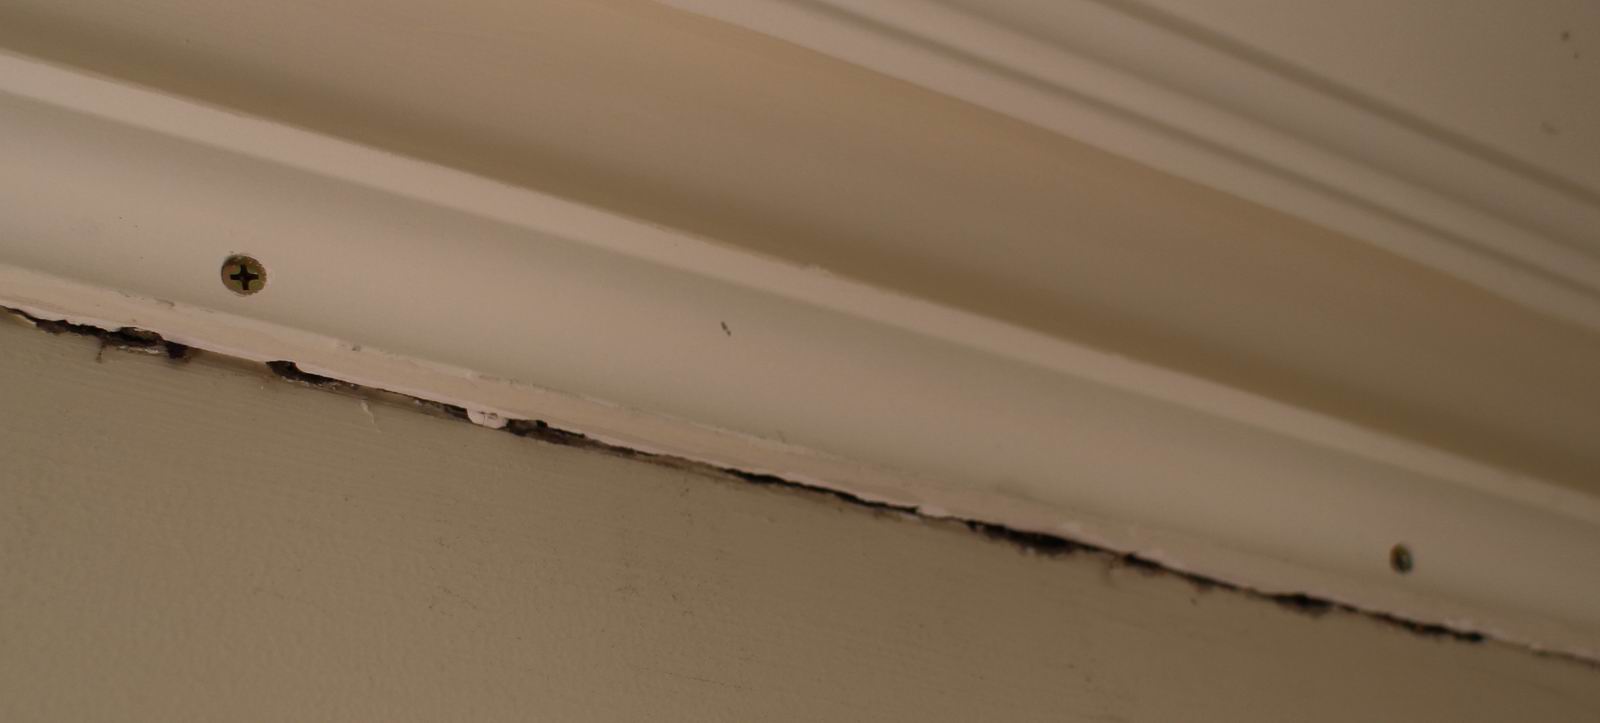
Cracks in your cornice? It's never going to not happen.
When a house is first built normally you won't wait a year or two for it to settle so you can then install the cornice. So since the ceiling and the walls are going to move as the house settles, if you have connected them together by a cornice then something has to give - you are going to get cracks.
And it's not just the house settling; as the house "breathes" between seasons, the ceiling and the wall is going to expand an contract in the heat and cold, also causing the cornice to crack.
"So there is nothing we can do JAW?" Yeah sure you can! But don't reach for the silicone and its promises of being flexible, it will crack again you are going to have to rip it all out and restart. Removing silicone from cracks is no fun. Silicone your skirting boards, sure, they only move within the range of flexibility of silicone, but your corice won't play that game.
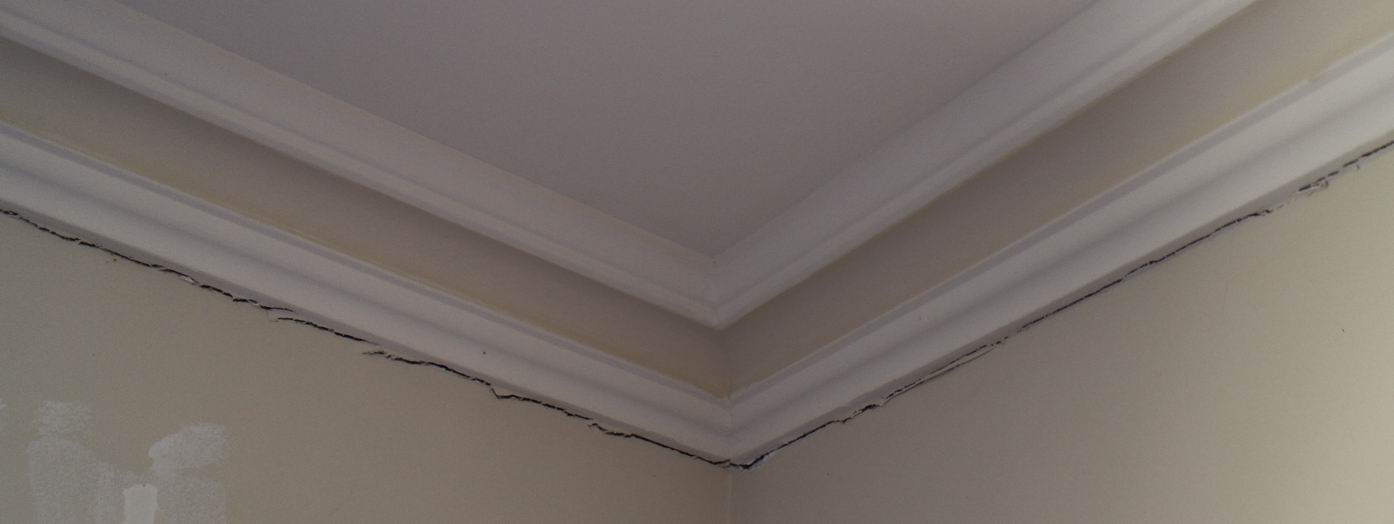
It happens a lot. But don't fear, it's an easy enough fix.
He's my formula - gouge out the cracked area, screw the cornice back on for extra rigidity, fill gouges with cornince cement, smooth off, repaint, see how you go. I find that only 10-20% of any repair will re-crack as the years go by, and nothing has ever cracked again when I've had a second repair.
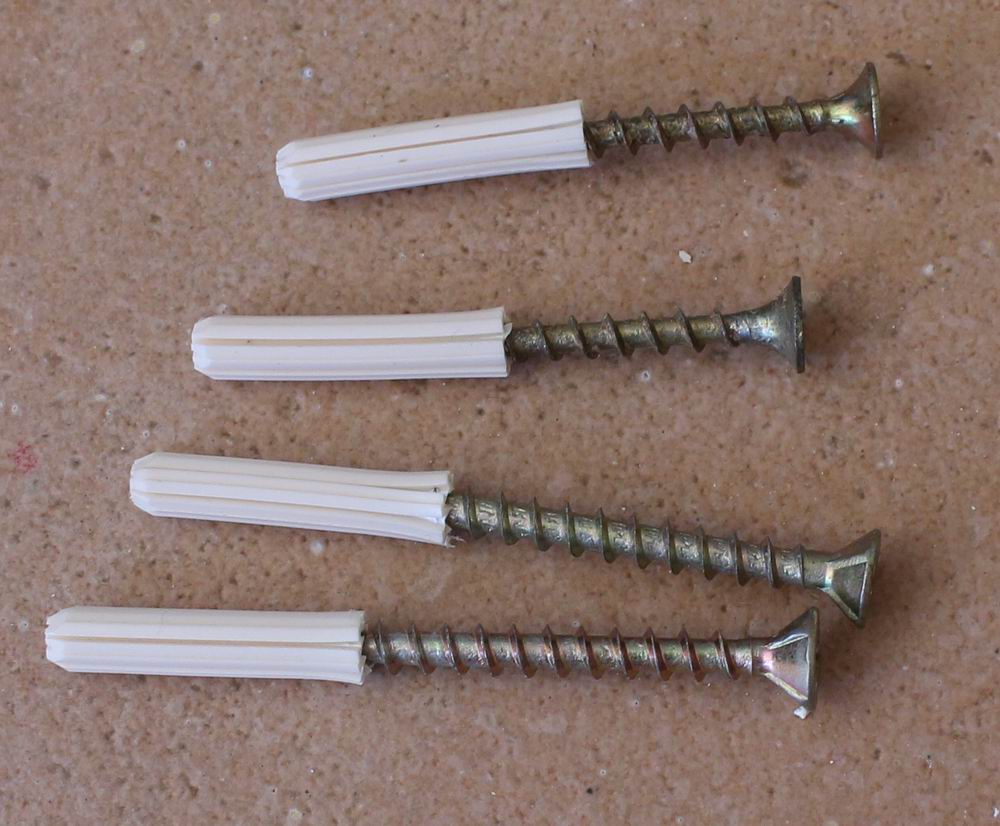
Set yourself up with a bunch of these. Experiment with screw lengths to suit your application
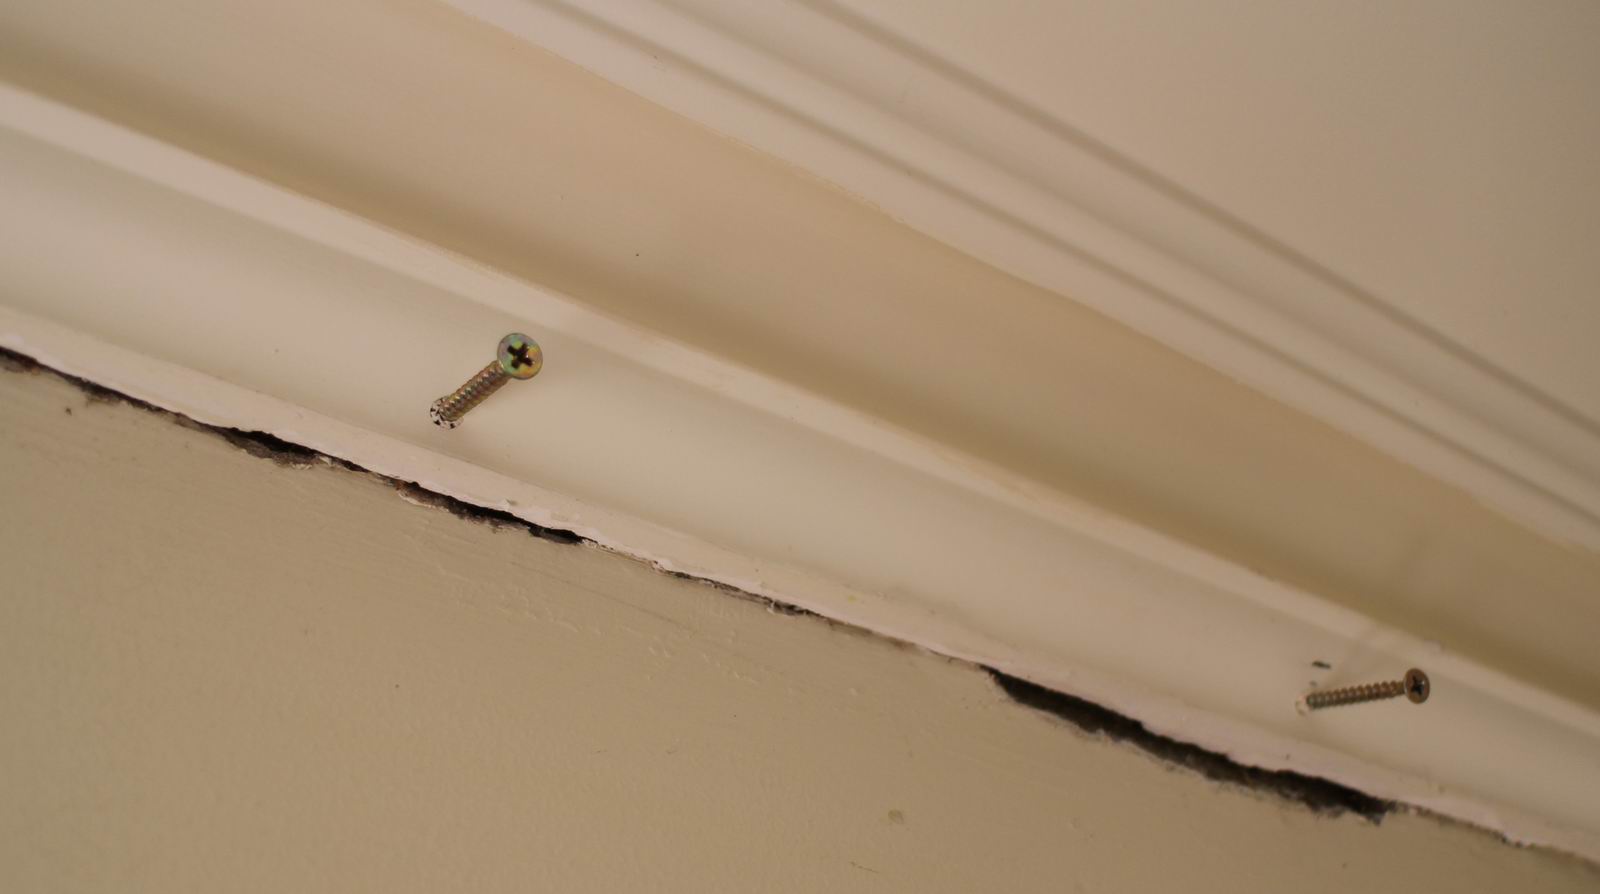
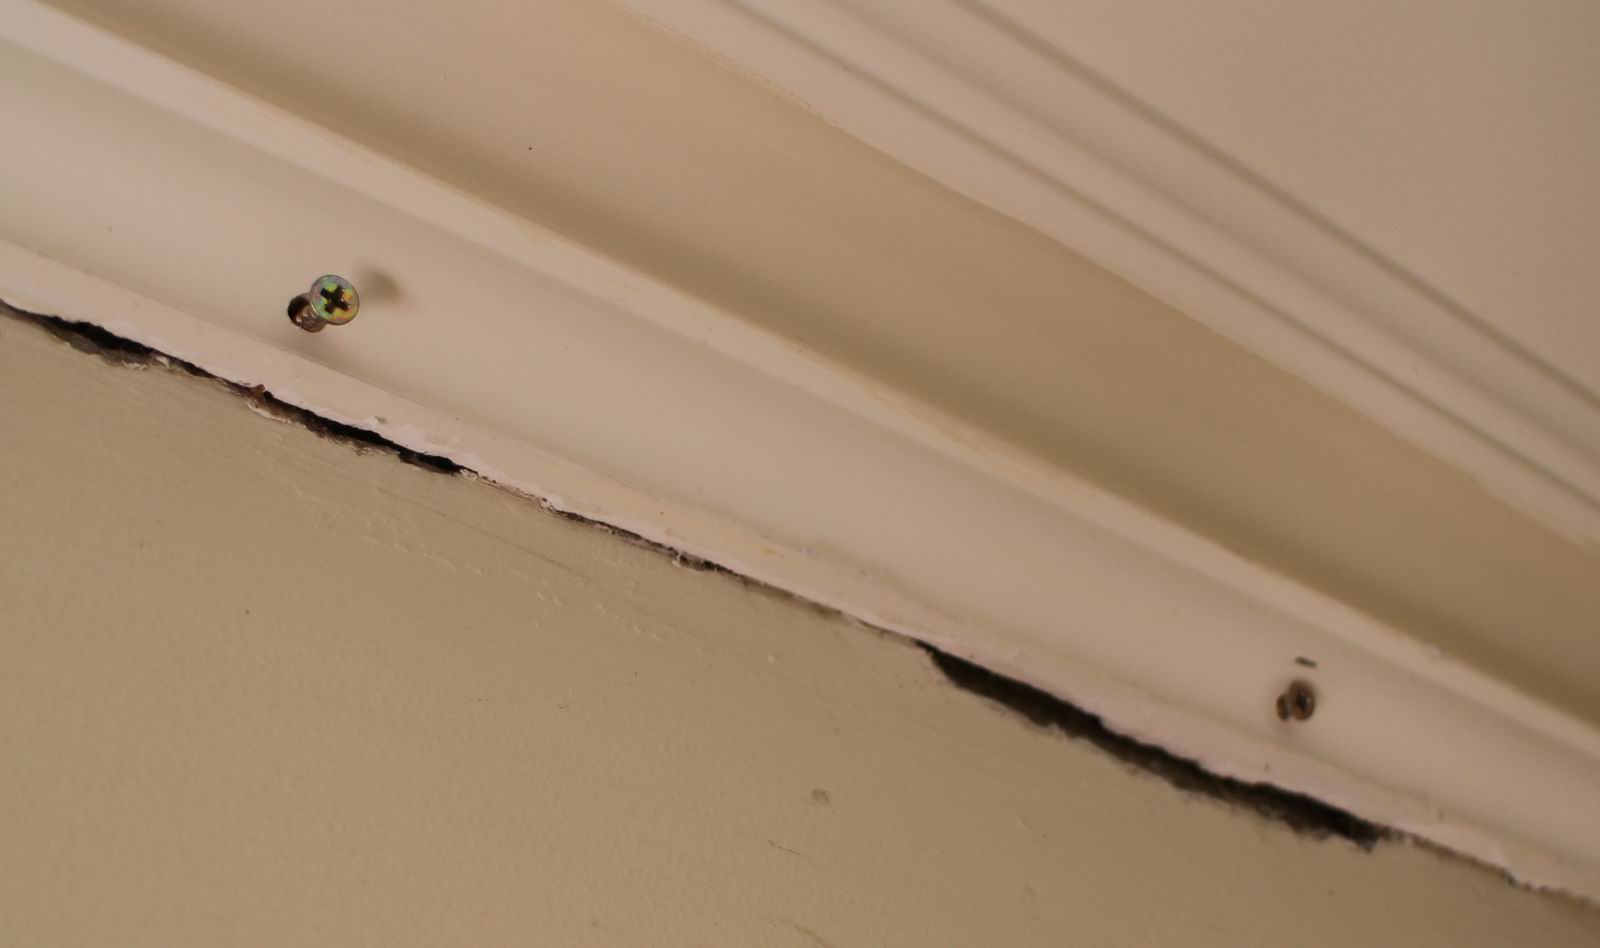
"Screw the cornice back on?" Yeah, this will reattach it to where it has cracked. First up, hack out all the broken bits of plaster and render so that only the strong parts remain. Wipe this off with a wet rag so there isn't dust and sand and grit left behind.
Now make some of these - if you have internal brick/concrete walls - 6mm wall plugs with some chipboard screws slightly screwed into them. If you have plasterboard over wood or metal you might have to skip this part, unless you find the top plate of your wall is right where you need it to be, then you just need to screw into that.
So in brick, drill holes with your hammer drill through the cornince and into the wall. Now tap them in - aim for the wall plug to be fully in the wall but some of the chipboard screw is left out. At this stage mix up a batch of cornice cement and push as much as you can into the gouged out cracks. Now screw in the chipboard screws. Since the heads are bigger than the 6mm hole, it will pull the cornice closer to the wall (or ceiling, if your cornice was broken from the ceiling). Only screw until the head is below the depth of the cornice - if you keep going the screw will pull straight through the cornice.
Start tapping the screw/wall plug throught the hole in the cornice...
...until the wall plug is in the (brick) wall leaving some screw exposed...
...now drive it in.
If the cornice is really loose and lots of gouged out cracks, use more screws. If there is only minor amounts of cracking, don't use any, just stick with cornice cement!
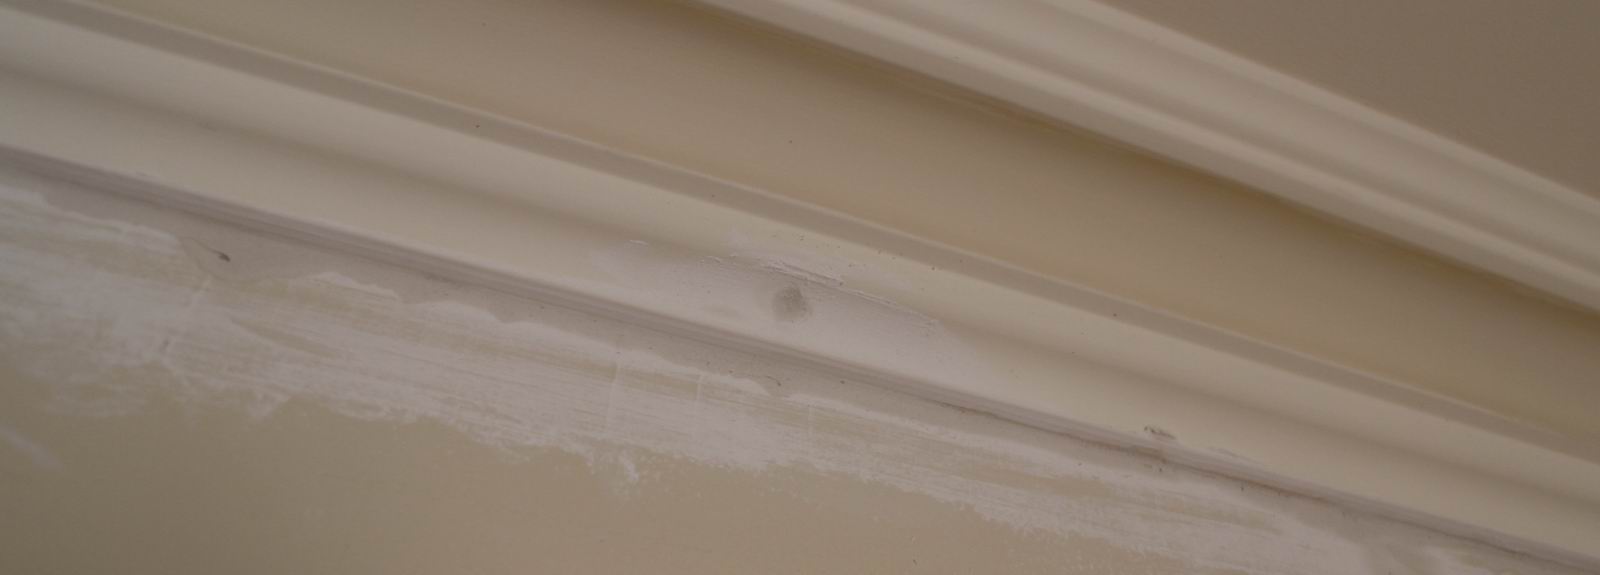
Now if your house is an award winner, then get yourself a scraper that you can drag along the interface between the wall and the cornice to square off the join. If you are like me, run a wet finger along the interface. I like to leave a little "radius" of cornice cement to give a little bit more purchase between the cornice and the wall. What I don't want to be doing it scraping/sanding back tens of metres of cornice worth of cement.
Note how I'm using cornice cement as a putty/spackle/filler? A wise old plaster told me that trick. Don't use putty/spackle/filler - just use cornice cement. Reasons? It is 1/3rd the price. It dries ready to sand in about an hour, depending on the thickness you applied. It is really easy to sand. It finishes just as well as putty/spackle/filler.
Bog up the holes with cornice cement...
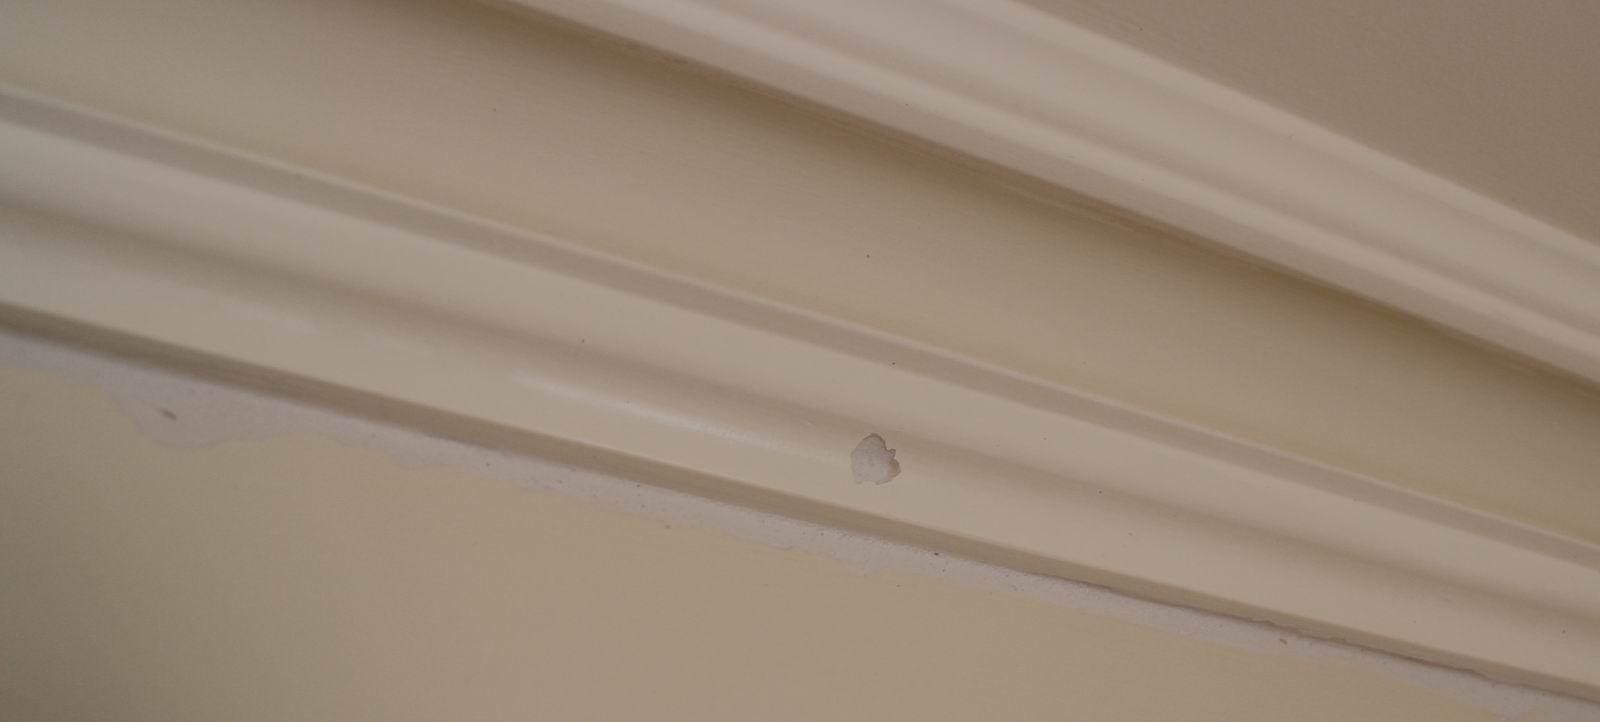
...scrape/sand or simply wipe off the excess "she'll be right".
Cornice cement shrinks as it goes off so plan for a second application if you have big gouges to fill. Otherwise, use your 75mm stainless steel scraper to "sand" back lumps, and a wet rag to "smooth" up the finish of your finger radius at the join. You could sand this with sandpaper, but, life is short and it's not the sort of thing that is going to stare out at you for the rest of your life showing itself.
Paint! If you have ornate cornice like mine here do not paint sections of it a different colour like this one was! Shadows are cast when it is painted solid white, giving it the ornate feel, you don't need a second colour, sheesh!
Oh and I hope you have a steadier hand than me when you are cutting the wall paint into the cornice paint :-)
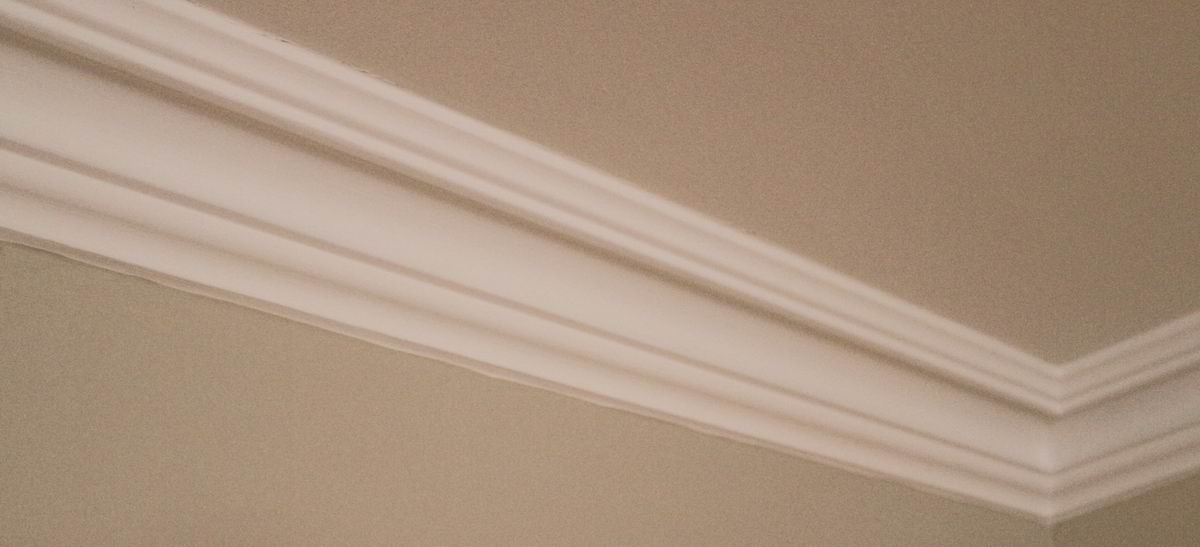
Paint! Do a better job of cutting the wall into the cornice than I do!
JAW


 database